- 1-905-452-8193
- Contact Us
- Member Login
- Get Listed Today
- 220,911 members

If you are like most people, the sound of water dripping from a faucet can be incredibly annoying. But what is even more frustrating is when that dripping becomes a full-blown leak.
According to plumber Newcastle owner Cherie Outjers, a leaking faucet can waste a lot of water and, over time, can cause some serious damage to your plumbing. So if you are dealing with a leaky faucet, it is important to take care of the problem as soon as possible.
What causes a leaking faucet?
A faucet leaking can be a sign of a bigger plumbing problem. There are several reasons why a faucet may start to leak, but the most common cause is a worn-out gasket. A gasket is a ring of rubber or other material that seals the joint between two metal surfaces. Over time, this seal can wear out and allow water to seep through. Other causes of leaks include cracked valves, corroded fittings, and loose screws.
A leaking faucet can be a nuisance and can also lead to water damage. It's important to take action quickly to prevent further damage and expensive repairs. By understanding the causes of leaks and taking proper corrective action, you can keep your faucet running smoothly for years to come.
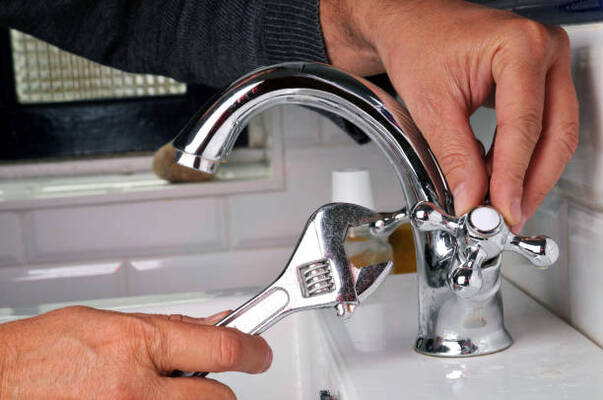
Here are some important steps for properly fixing a leaking faucet.
Shut Off the Water Supply
The first thing you'll want to do is shut off the water supply to the faucet. This can usually be done by turning a knob or lever located near the faucet. Once the water has been turned off, open the faucet to release any pressure that may still be in the lines.
Remove the Faucet Handle
The next step is to remove the faucet handle. This can usually be done by unscrewing it with a screwdriver. Once the handle has been removed, set it aside somewhere safe.
Remove the Faucet Spout
Now you'll need to remove the faucet spout. This can usually be done by unscrewing it with a wrench. Once the spout has been removed, set it aside somewhere safe.
Clean Out the Valve Seat
The next step is to clean out the valve seat. This can be done by using a wire brush or a piece of sandpaper. Be sure to clean out all of the built-up sediment and calcium deposits.
Apply a New Layer of Teflon Tape
The next step is to apply a new layer of Teflon tape. This will help to prevent leaks. Be sure to wrap the tape around the threads of the valve seat.
Reinstall the Faucet Spout
Now you'll need to reinstall the faucet spout. This can usually be done by screwing it in with a wrench. Be sure to tighten it securely.
Reinstall the Faucet Handle
Now you'll need to reinstall the faucet handle. This can usually be done by screwing it in with a screwdriver. Be sure to tighten it securely.
Turn on the Water Supply
The next step is to turn on the water supply. This can usually be done by turning a knob or lever located near the faucet. Once the water has been turned on, check for leaks. If there are any leaks, tighten the screws or nuts until they are tight.
Test the Faucet
Now you'll want to test the faucet. Open and close the faucet several times to ensure that it's working properly.
Replace Any Necessary Parts
If any of the parts on your faucet need to be replaced, now is the time to do it. Be sure to use the same type of parts that were originally used.
Reinstall the Faucet
Now you'll need to reinstall the faucet. This can usually be done by screwing it in with a wrench. Be sure to tighten it securely.
Check for Leaks
The final step is to check for leaks. If there are any leaks, tighten the screws or nuts until they are tight.
And that's all there is to it! With these 12 steps, you'll be able to fix your leaking faucet in no time! But if the issue persists, it is best to have a reputable contractor look at the problem and use professional methods to resolve it.
