- 1-905-452-8193
- Contact Us
- Member Login
- Get Listed Today
- 220,911 members

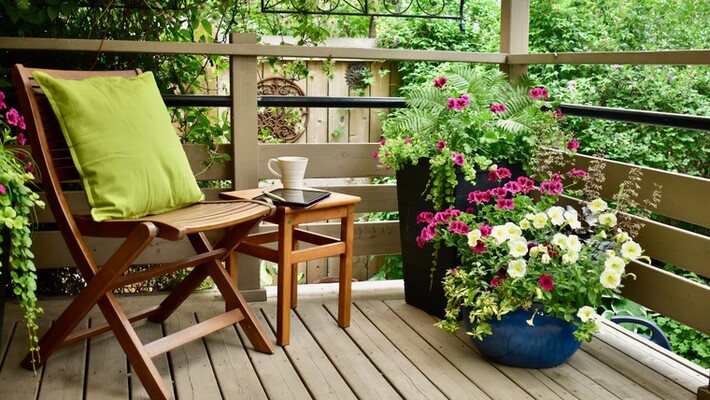
Creating your own backyard oasis is a fulfilling and rewarding project. And what better way to enhance your outdoor space than by building your very own Adirondack chair? The iconic design and comfort of an Adirondack chair make it a perfect addition to any backyard.
In this step-by-step guide, we will walk you through the process of building a cedar Adirondack chair, providing you with all the information and instructions you need to create a beautiful and relaxing seating option for your outdoor haven.
By following the steps below, you can build your own backyard oasis:
Before you begin building your cedar Adirondack chair, gather all the necessary materials. You will need cedar boards for the chair frame, seat, and backrest, screws, wood glue, a saw, a drill, sandpaper, and measuring tape. Choosing cedar for your project ensures durability and resistance to rot, making it an ideal choice for outdoor furniture.
Using the measurements provided in the Adirondack chair plans or template, carefully mark and cut the cedar boards to the appropriate lengths. Pay attention to the angles and dimensions to ensure precise and accurate cuts.
Begin by assembling the chair frame. Use wood glue and screws to join the pieces together securely. Follow the plans or instructions to ensure proper alignment and stability. Double-check all the joints to ensure they are firmly connected.
Next, construct the seat and backrest of the Adirondack chair. Attach the appropriate boards to create the seat slats and the backrest slats. Make sure to leave enough space between the slats for comfort and airflow. Sand the edges and surfaces of the seat and backrest to ensure a smooth finish.
Carefully align the seat and backrest with the frame and attach them securely using screws. Ensure that the seat is level and the backrest is at a comfortable angle. Take your time to make any necessary adjustments for optimal comfort.
Attach the armrests to the sides of the chair, ensuring they are level and securely fastened. Consider adding rounded edges or decorative details to enhance the aesthetics of your cedar Adirondack chair. Sand any rough edges or surfaces and apply a protective finish to seal and protect the wood.
Once you have completed all the steps and allowed any finishes to dry, it's time to sit back, relax, and enjoy your newly built cedar Adirondack chair. Place it in your backyard oasis, surrounded by nature, and relish the comfort and style it brings to your outdoor space.
In conclusion, building your own Adirondack chair is a gratifying project that allows you to create a unique and personalized piece of furniture for your backyard. By following this step-by-step guide, you can construct a stunning cedar Adirondack chair that combines comfort and durability. Wood Adirondack chairs, including the cedar Adirondack chair, are a timeless choice for outdoor seating, offering both style and relaxation. So, gather your materials, get creative, and embark on the journey of building your own backyard oasis.
